
Which free screenshot generator should you use?
For a first release in one language, I’d start with AppMockUp Studio or AppScreens Free.
If you already design in Figma, the free Starter plan is enough. You build the frames and export them yourself. If you need the same captures on many devices and languages, look at Fastlane snapshot.
AppLaunchpad is another option. But its pricing page doesn’t say how many free exports you get. So I’d export one real screen before designing the whole set.
To be fair, we make Minimalist Screens. Our App Store screenshot generator lets you design and preview without an account, but clean downloads are paid. With a budget of zero, it’s only good for previews.
Free plans: watermarks, sizes, languages and exports
I checked the official pages on October 30, 2026. I didn’t time each tool by hand, so these are the features and limits they publish.
“Doesn’t say” means the source doesn’t settle it. It doesn’t mean unlimited exports or no watermark.
| Tool and free allowance | Watermark? | Sizes | Languages | Exports |
|---|---|---|---|---|
| Minimalist Screens Design and preview a kit for free, without an account. | Free previews have a watermark. Clean downloads are paid. | Paid App Store PNG export at 1242 × 2688 px. No iPad or 6.9-inch output. | Edit the headlines and prepare other languages. The clean kit is paid. | A clean download costs €2,99 per kit, or comes with a subscription. |
| AppMockUp Studio Free designer in the browser. No account needed. | The homepage doesn’t say. Check a sample export. | App Store and Google Play designs. Confirm the exact output size in the editor. | You can edit the titles. I didn’t find any automatic translation. | Export is advertised. The homepage doesn’t give a limit. |
| AppScreens Free One saved project, one app and up to 5 screens. | Pro features show a watermark in the preview. Stick to the Free ones. | The main iOS and Android sizes. All sizes and custom sizes are paid. | Default language only. Localization is paid. | Manual export. You can edit and export again. |
| AppLaunchpad Free 10 templates, 100 layouts and a few assets. | The pricing page doesn’t say if free exports have a watermark. | iOS and Android scaling is advertised. Check the size you need before you design. | You edit the text by hand. AI translation is on Pro. | Limited exports. The exact number isn’t published. |
| Figma Starter Free plan with unlimited drafts. Build a layout or duplicate a template. | Frame exports have no Figma watermark. Check the template and asset terms. | You set each frame to the exact pixels you need. | Duplicate the frames and translate the text yourself. Plugins can cost extra. | Frame export works on every plan. Pick PNG for screenshots. |
| Fastlane snapshot Open source capture automation. Needs a Mac, Xcode and UI tests. | No watermark on the captured screens. | Native captures from the simulators you set up. | Runs the app in the languages you set up. It doesn’t translate the app or the captions. | Repeatable captures. Layout and captions are a separate step. |
A device frame doesn’t mean the file fits an App Store slot. Check the real pixels against Apple’s screenshot specifications and our screenshot size guide.
The best way to create App Store screenshots for free
Capture → pick sizes → one layout → one sample → full set. That’s pretty much it.
- Capture the real app. Use a device or the iOS Simulator. Keep the same demo data everywhere and capture the screens that show what your app does best.
- Pick your sizes. Check which slots App Store Connect asks for, iPad too if you support it. Go by Apple’s current specs, not by the device name on a template.
- Build one layout you can reuse. A short headline, your capture and the same background, in a free generator or in Figma. The app should still be readable at listing size.
- Export one sample first. Look at the watermark, the pixel size, the text and how many exports you have left. Apple takes JPEG or PNG, with no transparency or alpha channel.
- Check the whole set. Swap in every capture and headline, look for cut-off text in each language, then upload to the right slots.
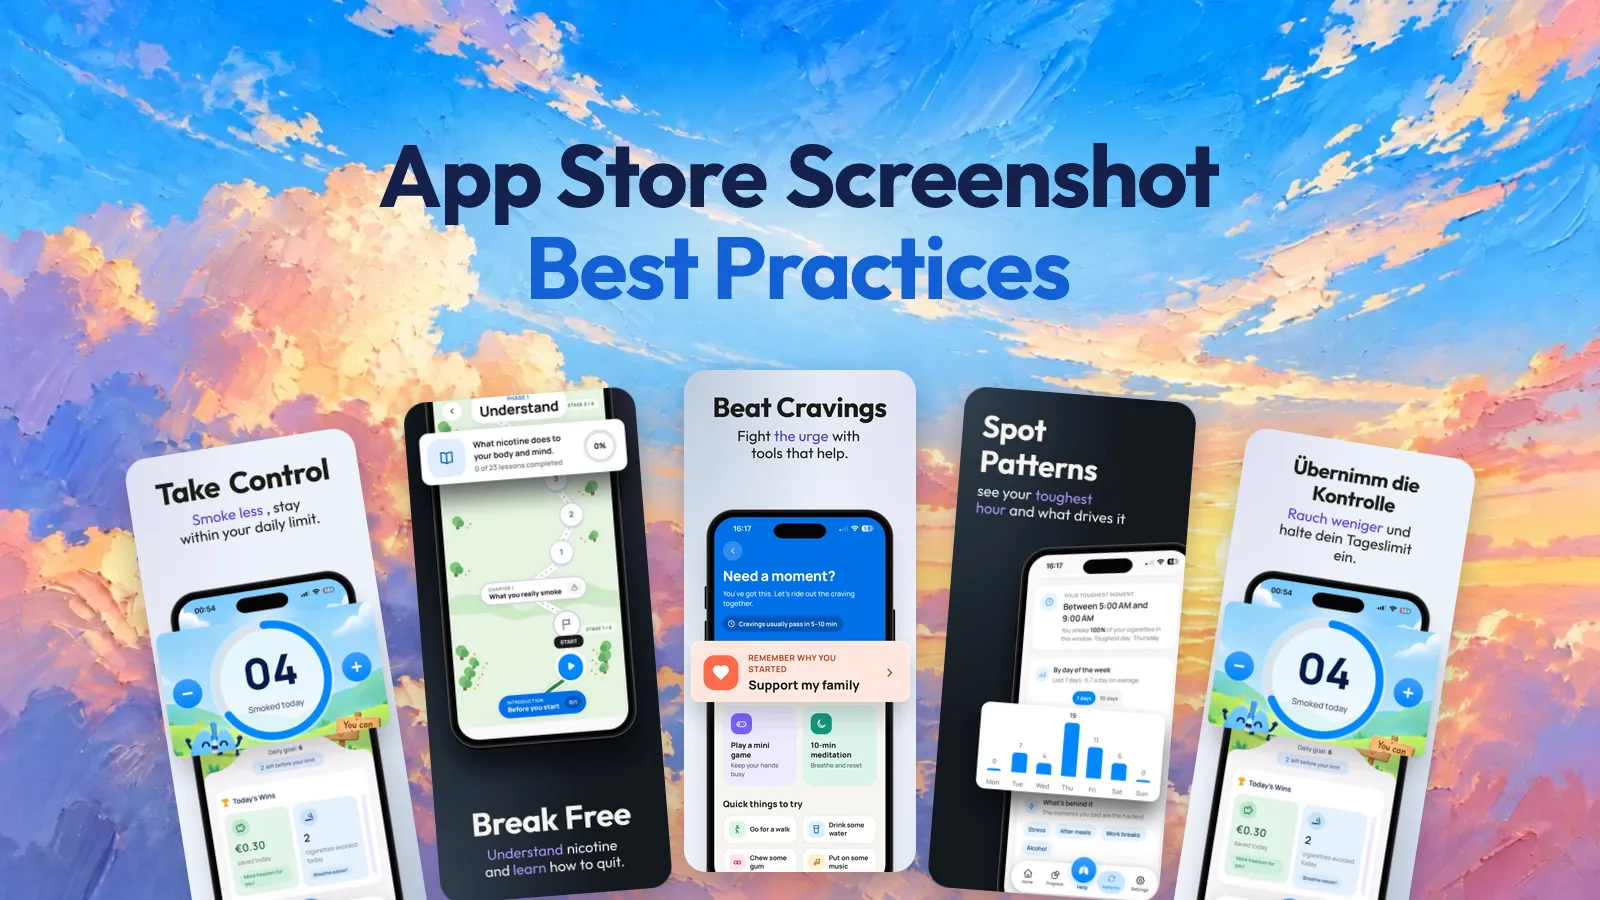
For layout tips, see our App Store screenshot best practices. If you’re fine paying, there’s also the broader screenshot generator comparison.
Automate captures for free with Fastlane snapshot
Fastlane snapshot runs your app through Xcode UI tests. It captures screens on the iOS Simulators and languages you set up.
The software is free (MIT licence). But you still need a Mac, Xcode, a working project and UI tests that don’t break. Hosted Mac runners can cost money too.
The official setup guide is pretty short. Create a UI test target, initialize snapshot and add its helper to that target. Call setupSnapshot(app) before launch and snapshot("01Home") wherever you want a capture. Then set the scheme, devices and languages in your Snapfile and run fastlane snapshot.
What you get is your app’s UI, sorted by device and language. Headlines and backgrounds are a separate step, in a generator or in Figma. Snapshot doesn’t translate your app and doesn’t design the final set.
Free App Store screenshot templates for Figma
Figma Starter is a good free route if you’re fine handling frame sizes and languages yourself. Figma lets you export on every plan. Two Community files to start from:
- FREE App Store Screenshot Templates: Two styles and 20+ screens, according to the creator. Editable layers for iOS and Android.
- App Store Screenshot Template by Harsh Shah: A starting point with a device mockup. The creator’s steps use a mockup plugin, so check plugin costs, frame sizes and attribution.
Duplicate the file into your drafts. Replace the demo captures and captions, then resize the frames to the sizes you need. If a frame already matches the pixel size, export at 1×.
Before using it commercially, check the licence. Also check fonts, mockups and plugins: a free template can still depend on paid ones.
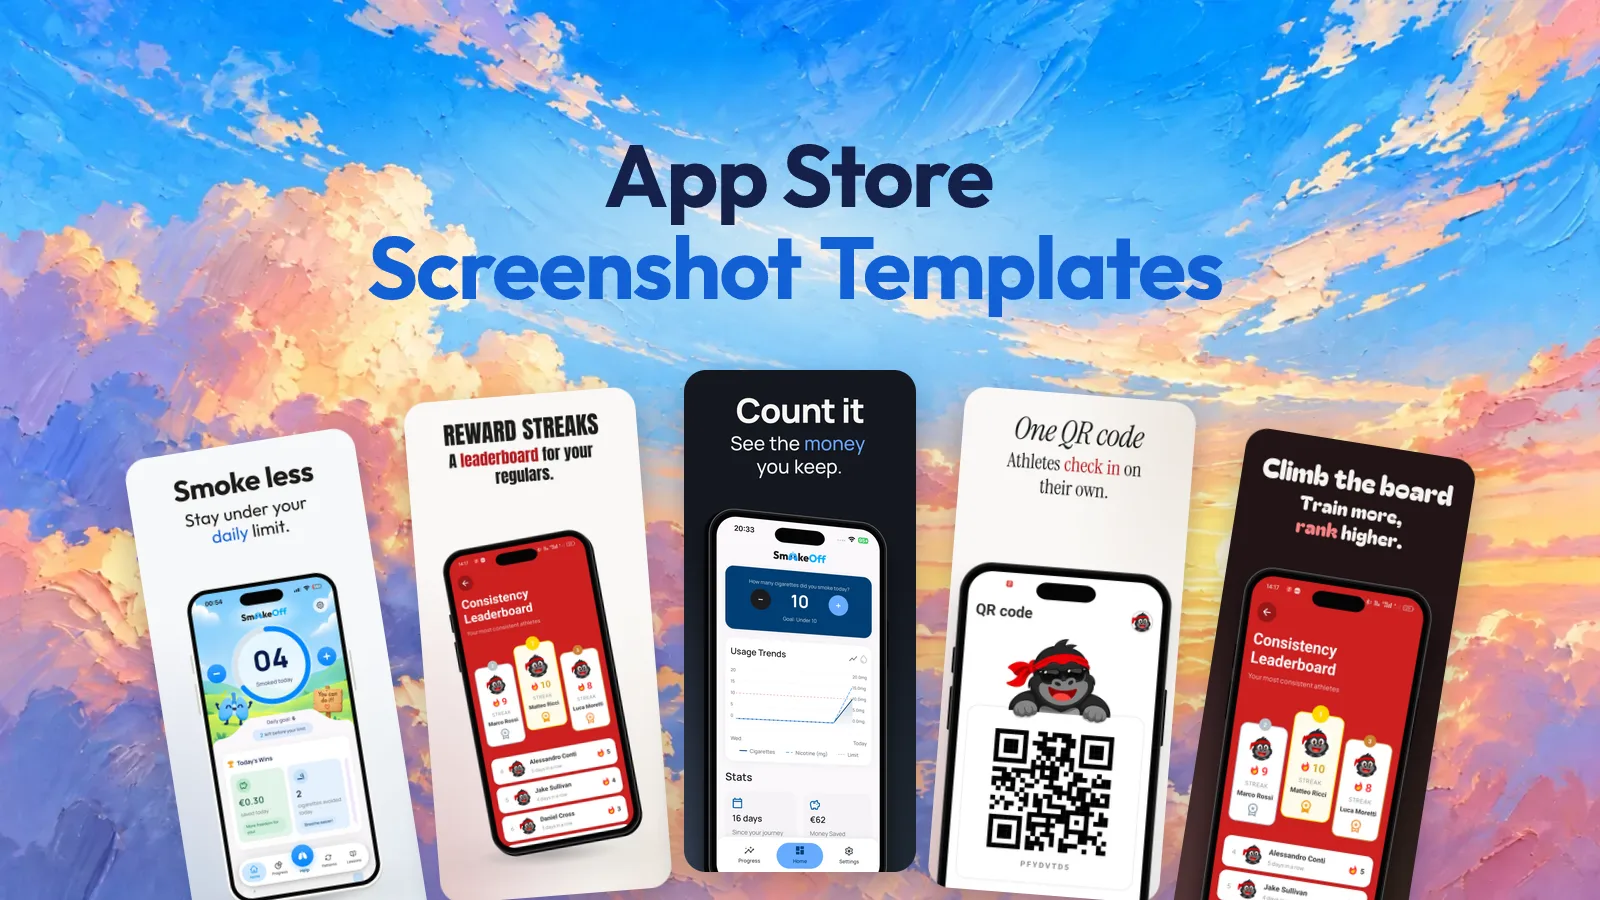
If you’d rather use templates in a browser generator, see our App Store screenshot templates. Previews are free, clean downloads are paid.