

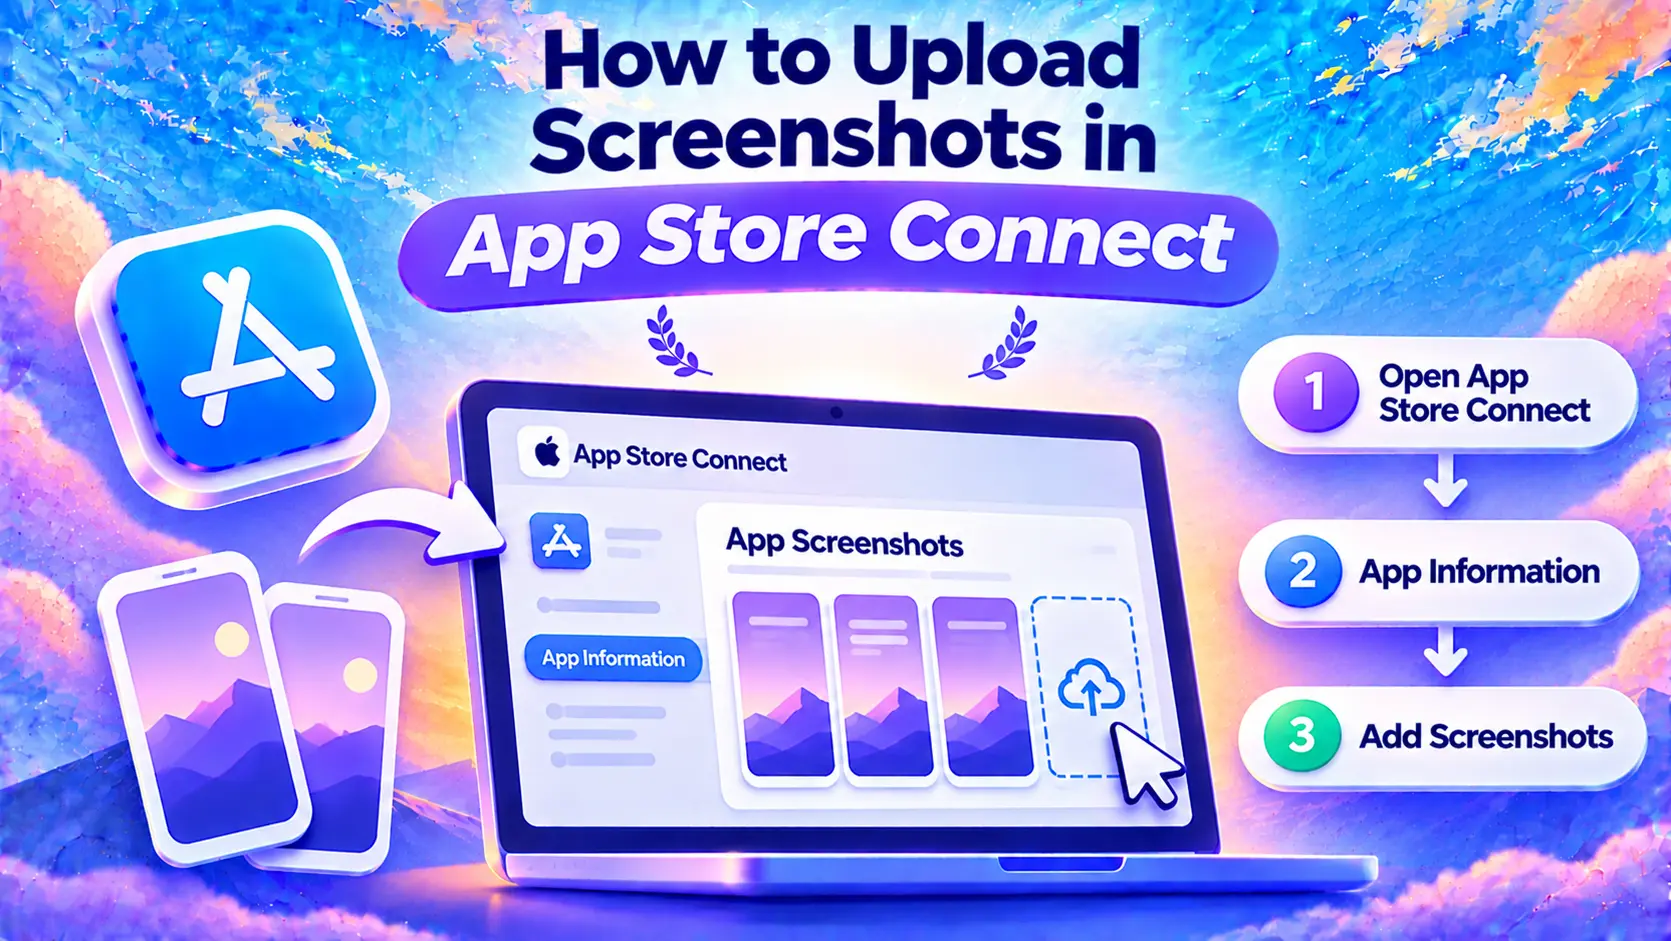
Upload screenshots to your app version
- Sign in to App Store Connect, open Apps and pick your app.
- Click the version you’re preparing. To work on another language, switch it from the menu at the top right.
- Scroll to App Previews and Screenshots and pick the device tab, iPhone or iPad.
- Click Upload or drag your PNG or JPEG files in. Drag them around to change the order: the first three are the ones people see in search results.
- Save. The screenshots go to review together with the version.
If the files are already in your Asset Library, click Browse Assets and pick them from there.
Device sizes and languages
You don’t need a set for every iPhone. Upload the size Apple requires and App Store Connect scales it down for the smaller displays. If your app runs on iPad, you also need a 13-inch iPad set. The screenshot size guide lists every accepted size, landscape included.
Uploading a video too? Check the App Store preview video specs before exporting it.
To see the scaled versions, click View All Sizes in Media Manager. If one size looks off, or you want translated headlines for a language, pick that size and language and upload a set just for it. Each language keeps its own set, so after changing the order or swapping a file, look at the others too.
When a screenshot won’t upload
- Wrong size. The file has to match one of the accepted sizes for that slot and orientation, pixel for pixel. The right proportions aren’t enough.
- Transparency. Apple doesn’t accept an alpha channel. A PNG can have one even when the background looks solid: export it again with a solid background, or as JPEG.
- Same file name. If the error mentions the file name, rename it, for example
en-US-iphone-01.png, and try again. - No Upload button. Either the version can’t be edited right now (it’s in review, for example) or your role can’t change it. You need Account Holder, Admin, App Manager or Marketing.
The screenshot size checker tells you if a file has the right size and format before you upload it again.